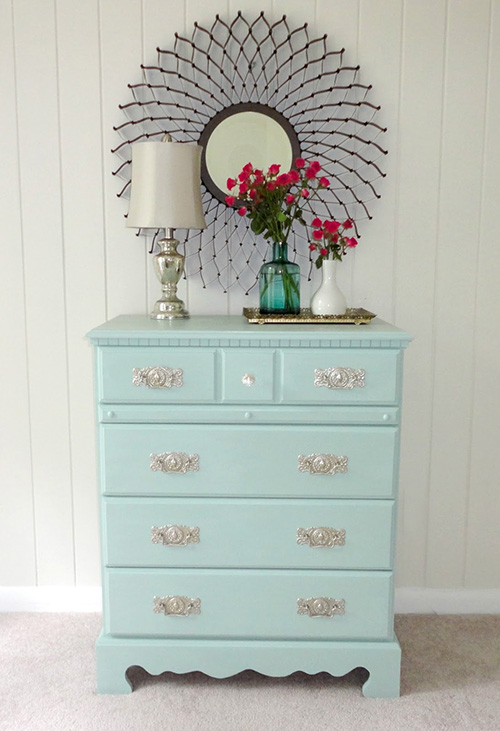
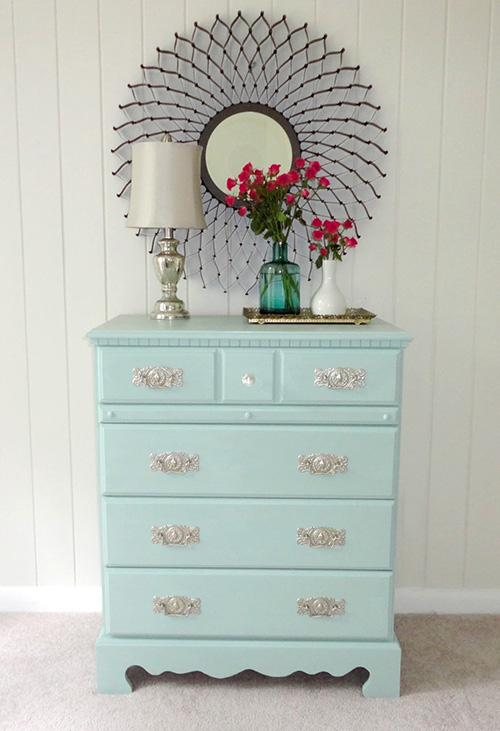
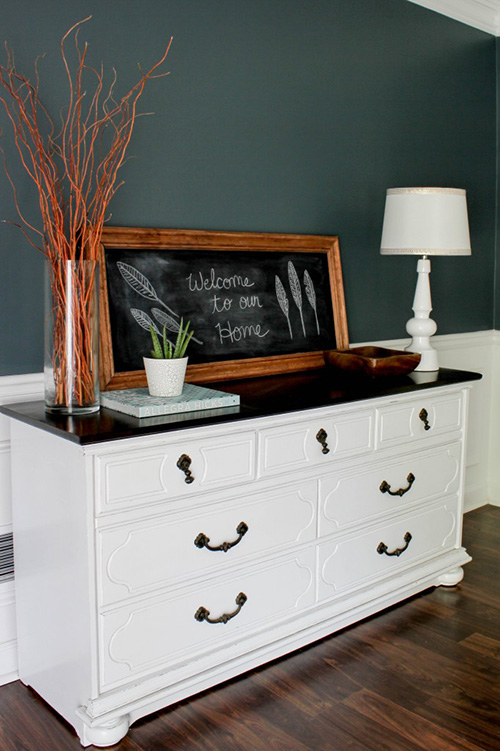
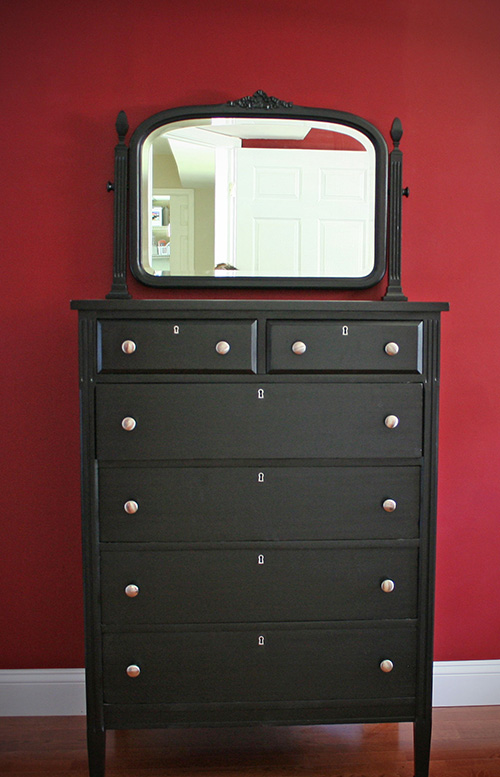
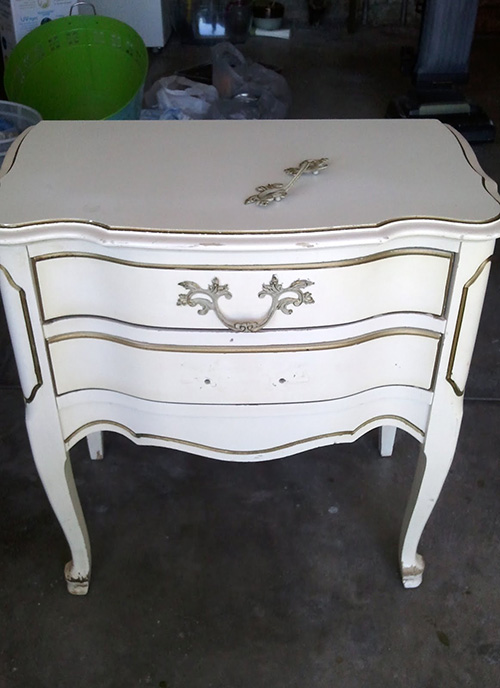
Repurposing and remanding furniture is one of the easiest ways to get a hold of cheap furniture. But not all of it comes according to your tastes; sometimes, you have to get down and dirty, put on a pair of your shabbiest overalls and fix that furniture to suit your taste, your style, and the state of your home. Similarly, when you’ve had a piece of furniture for a long amount of time, it slowly, but surely, starts to deteriorate – mostly starting with the peeling and chipping of the original paint. The best way to handle such a situation is to strip it to its core, and put on a new coat of paint, to hide the damage, or to give it a new look – but it is never as easy as opening a bucket and applying a few coats of new paint; you have to prep, and sand, apply new handles. So here are a few easy ways to paint your bedroom furniture:
1. Laminate
First of all, you cannot just open a bucket of paint and apply haphazard coats. There are steps to be followed, so you won’t end up dismantling your favorite dresser, or alienating the bed legs. You have to prime the furniture first; especially in case of laminate furniture; where paint doesn’t adhere to the glossy finish of the laminate. So you have to use Primer, which would make it easier for the paint to settle on the furniture surface. It takes a few hours for the primer to dry, but when it does, you can start applying paint. You get your favorite color, and you get an angular brush – as it is most suitable to dip into shallow crevices – and you start applying thin coats. Rinse, repeat, and regurgitate, until you’ve got a nice, smooth, finish.
2. Vintage
In this case, you’d have to start prep, by taking out all the hardware – sliders and such, in case of a chest, mattress, in case of bed – and clean it properly from top to bottom – an integral part of which, would be sanding; take a medium grit sandpaper and rub it again and again on your furniture from top to bottom, and inside out, until you have a smooth, glossy, finish. After that, you once again, use the primer as adhesive. After the primer has set, you apply thin coats of paint – and use the medium grit sandpaper to sand between each and every coat – it helps attain a professional finish. Repeat, until you have a smooth texture.
3. Wooden
In case of wooden furniture, you have to, once again, start by sanding, so you have a smooth surface that is less prone to wood chipping – use an orbital sander [80 – 100 grit]. Once, all the stains have been removed off the surface, and the glossy sheen has been rubbed off, you get the primer, so the paint sticks – grey for dark colors, and white for lighter ones – and use spray primer for even coating. The first coat might look unsatisfactory, but that is only the process – as you apply more coats, you get the desired finish.
4. Wooden Again
Another process to paint wooden furniture would be to use the Wood Filler – after removing all the hardware, use the wood filler; which is a paintable filler applied to holes and scratches that would be, thereafter, adapted to the primer and paint itself. So, in this case, after applying the wood filler, you start the sanding, and after that, you apply coats of primer, after which, the furniture is ready for painting. Apply thin coats, until you get the desired finish.
5. Wood without Sanding
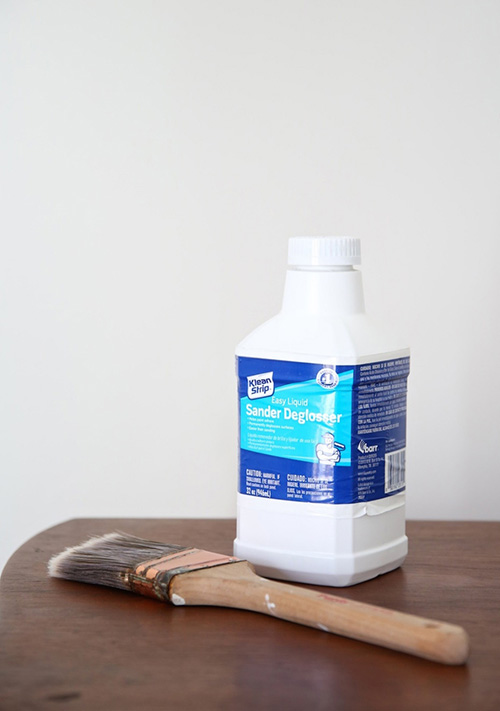
If sanding seems like a little too much of a hassle for you, then rest assured, there is another way. The thing about wood is that, you have to sand it to get a finish that would get the paint to adhere – but there is another, more easier way, to get the job done, and that is, by using a deglosser. The deglosser can achieve that rough texture, without all the effort from the sanding. You may apply it in coats, and wipe it off after 15 minutes. Then, use the Primer, and apply paint.
6. Chalk paint
Another easy way to pain your furniture would be to use Annie Sloane’s Chalk paint – now, the beauty of using chalk paint is that it does not require sanding, or even priming. It just naturally sticks to any surface you want, but the most desired applicant would be an old, vintage piece- you wouldn’t have to even fill the holes, if you prefer. All you have to do, in this case is, grab your desired color of chalk paint, and a low maintenance brush, dip it in the paint, and go at it. Most pieces would usually require at least two coats of paint, before actually adhering.
7. Adding Vintage
If you want to add a little bit of an ages, rustic look, then you can do that by adding a simple step in the usual technique. First off, clean off the furniture with a wet rag, apply the primer, and leave it to dry. After apply your preferred choice of color, and paint. After the paint has dried, rub a little Minwax Dark Walnut stain and wipe some of it away with a clean rag – it would give off an aged, rustic look.
8. Deco
The thing about deco paint is that it is incredibly glossy, and smooth to the touch. So avoiding the sanding step would just make the paint chip off with a scrap of a fingernail. So make sure, that before you paint, you clean it with a degreaser, and then, use a liquid sander. After that, use an oil based primer, and apply paint.
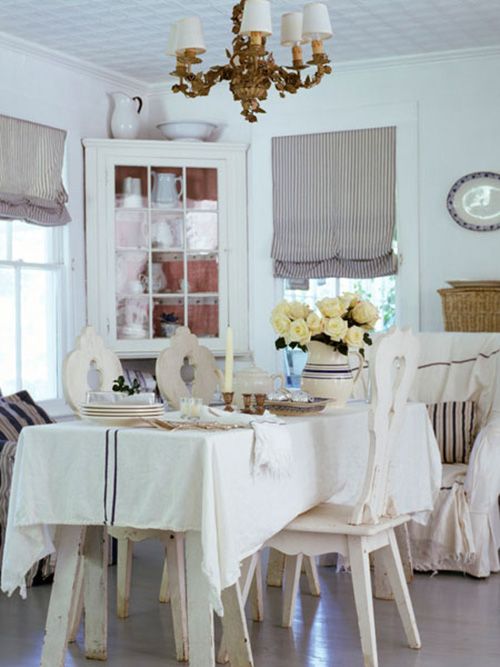
9. Shabby Chic
If you’re going for the shabby chic look, then there would be a few more added steps, after applying the pain. First, sand the wood, apply a coat of water-based acrylic primer, and apply two layers of paint. Then seal the paint with acrylic varnish, after it has dried.
10. Distressed Furniture Look
If you want to give your furniture that dated look, than you follow the above mentioned steps – sand, prime, paint – but when you’re applying the paint, instead of using the same color for two coats, use two different colors, the top one is then rubbed off to feature the second tone below. Then add a few dabs of clear furniture wax, to give it that glossy luster.
